Painting a room can breathe new life into your living space, transforming it into a place of beauty and comfort. However, the key to a successful paint job lies in the preparation of the canvas – your walls. Properly preparing your walls is essential for achieving a smooth, professional-looking finish that will stand the test of time. In this blog, we’ll walk you through a detailed guide on how to prepare your walls for painting, covering everything from cleaning and repairing to priming and protecting.

Preparing walls for painting
1. Gather Your Supplies
Before you begin, it’s essential to have all the necessary supplies on hand. Here’s a list of items you’ll need:
- Drop cloths or plastic sheets
- Painter’s tape
- Sandpaper (various grits)
- Spackling compound
- Putty knife
- Paint scraper
- Bucket and mild detergent
- TSP (Trisodium Phosphate) cleaner
- Tack cloth
- Primer
- Paintbrushes, rollers, and trays
- Extension pole for roller
- Safety goggles and dust mask
- Clear the Space
Start by removing all furniture and decorations from the room. If that’s not possible, move everything to the center of the room and cover it with drop cloths or plastic sheets to protect it from dust and paint splatters.
2. Repair Wall Imperfections
Inspect your walls for cracks, holes, and imperfections. Fill any holes or cracks with a spackling compound using a putty knife. Once it’s dry, sand the area smooth with fine-grit sandpaper. For larger holes or dents, consider using a patch kit.
3. Remove Old Paint or Wallpaper
If you have old wallpaper or layers of peeling paint, it’s crucial to remove them before painting. Use a paint scraper to gently remove loose or peeling paint. For wallpaper, you may need a wallpaper steamer or adhesive remover to loosen the paper before scraping it off.
4. Clean the Walls
Dirt, dust, and grease can prevent paint from adhering properly. Mix a solution of mild detergent and water, or use a TSP cleaner, to clean the walls thoroughly. Pay extra attention to areas near stoves or sinks, as they may have accumulated more grease and grime.
5. Sand the Walls
Sanding the walls helps to create a smooth surface and promotes paint adhesion. Start with a coarse-grit sandpaper to remove any remaining rough spots or imperfections, then switch to a finer-grit sandpaper to create a smooth finish. Be sure to sand in the direction of the wood grain for the best results.
6. Prime the Walls
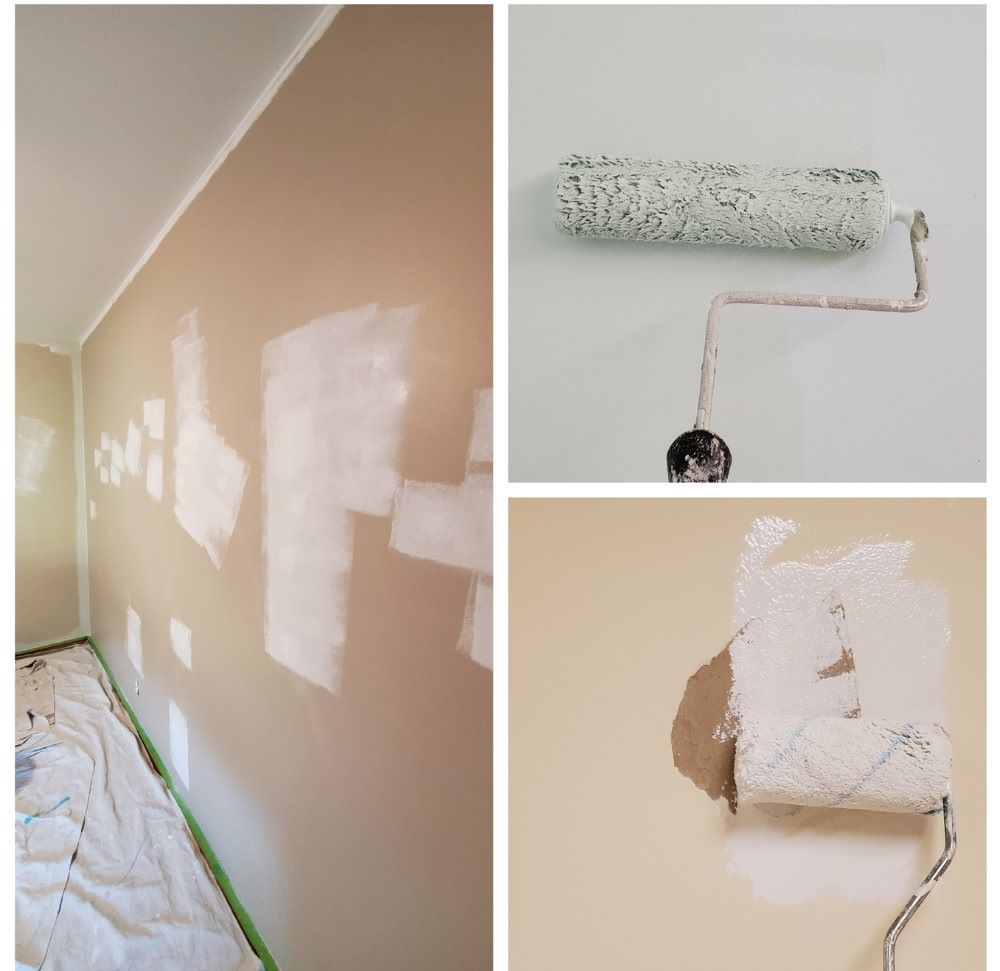
Primer is an often-overlooked step that can make a significant difference in your paint job. It seals the surface, helps paint adhere better, and ensures an even finish. Apply a coat of primer to the walls and allow it to dry completely before painting.
7. Protect Trim and Fixtures
Use painter’s tape to protect trim, baseboards, door frames, and any other fixtures you don’t want to paint. Take your time with this step, as clean lines make a big difference in the final result.
8. Choose the Right Paint
Selecting the right paint for your project is essential. Consider factors such as the room’s lighting, the desired finish (matte, eggshell, satin, or gloss), and any specific paint color you want. High-quality paints may cost more but offer better coverage and durability.
9. Apply Paint with Care
Once everything is prepped, it’s time to paint. Use a paint brush for edges and corners and a roller for larger areas. Start with a cut-in coat around the edges, then roll the paint on in a “W” or “M” shape to ensure even coverage. Allow each coat to dry thoroughly before applying the next.
Properly preparing your walls for painting is a critical step in achieving a professional and long-lasting finish. By following these tips and taking the time to clean, repair, prime, and protect, you’ll set the stage for a successful paint job that will refresh and beautify your living space. So, grab your supplies and get ready to transform your room into a work of art!
Follow us on all our social media platforms to stay updated on the modern trends in tiles wrought iron and painting ideas. Facebook Website X
